Scheduling Jobs in Heroku
Heroku Scheduler is a free Heroku add-on that runs any command that can be run in your application at scheduled time intervals, similar to cron jobs in a Linux server.
Installation
The add-on is free but you will need to use it on a verified Heroku account. You can verify your account by adding a credit card to your account. To install using the Heroku CLI, run this command in your application folder:
$ heroku addons:create scheduler:standardThe add-on can also be installed from the ‘Resources’ section in the Heroku application dashboard. Just search for ‘Heroku Scheduler’ and follow the prompts to install the add-on.
Usage
Once installed, the add-on can be accessed from the Resources section. Click on ‘Heroku Scheduler’ from your listed add-ons and it will navigate to a new page where you can create your first job.
This page can also be accessed from from the CLI
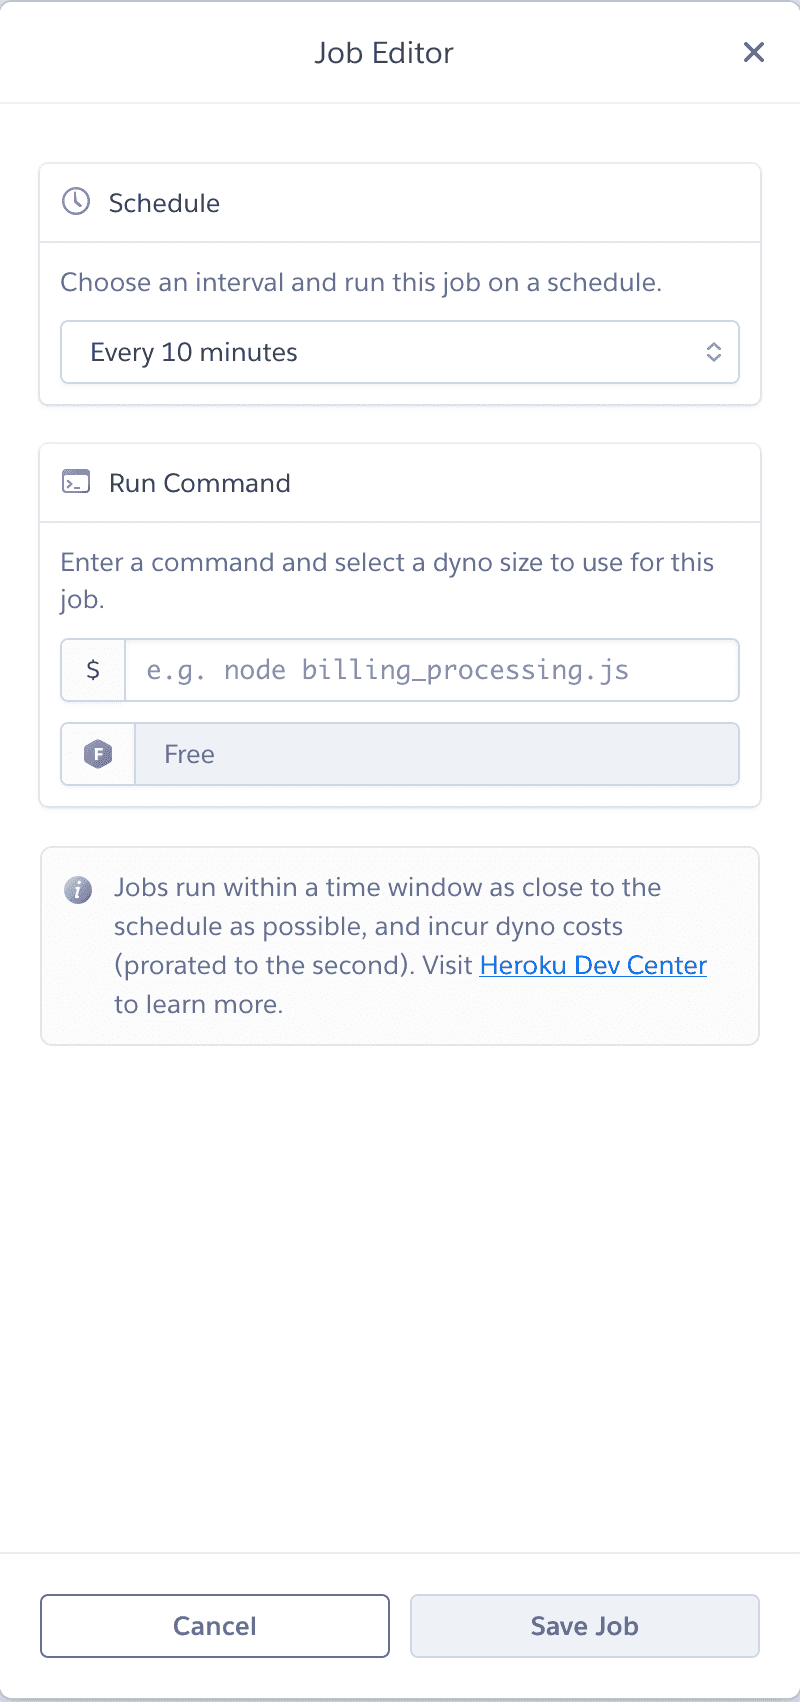
$ heroku addons:open schedulerClicking on ‘Create job’ opens a form to the side
Suppose we have a script called emailUpdates.js that sends a daily email to users of our app at 6 PM. We can run this script using the scheduler by
- Set schedule to ‘Every day at…’ 6:00 PM (The default timezone is UTC so you’ll need to offset this to your desired time)
- Set command to
node emailUpdates.js. Heroku suggests placing your scripts in abinfolder so if your script is located there, the command would be node./bin/emailUpdates.js. - Click “Save Job”
The job to run can be any command that can be run in your application. In a node.js app, this could be a script defined in the scripts section of your package.json file.
Limitations
Scheduled jobs are meant to execute short running tasks or enqueue longer running tasks into a background job queue. Anything that takes longer than a couple of minutes to complete should use a worker dyno to run.
A dyno started by scheduler will not run longer than its scheduling interval. For example, for a job that runs every 10 minutes, dynos will be terminated after running for approximately 10 minutes.
So that’s how schedule simple tasks on Heroku. For more details, you can view the official documentation here.

